


![indexj]](https://farm8.staticflickr.com/7478/16260570371_ea1fef70be_o.jpg)

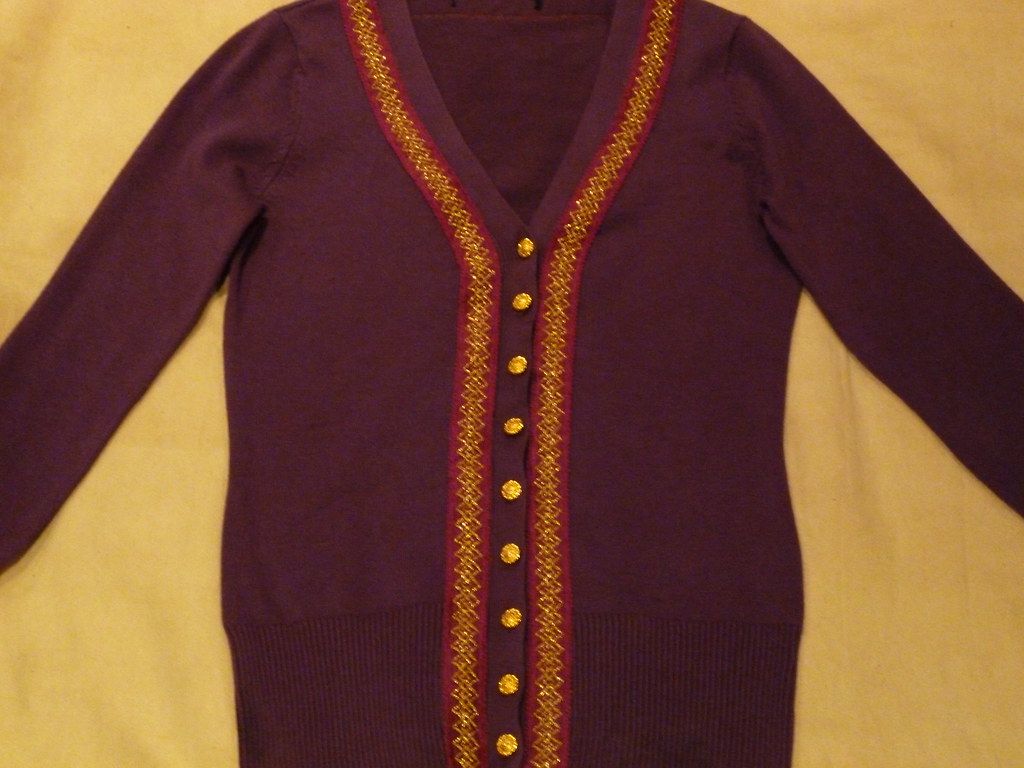
For this post I thought I would show you how I made this particular cardigan. It is very simple. I took some photos as I was sewing but please tell me if there is anything I should explain further.
What you will need:- a cardigan
- ribbon or trim (or whatever you would like to sew onto the cardigan). I bought 2 metres of this trim and I had a small amount left over at the end.
-buttons
-thread
-needle
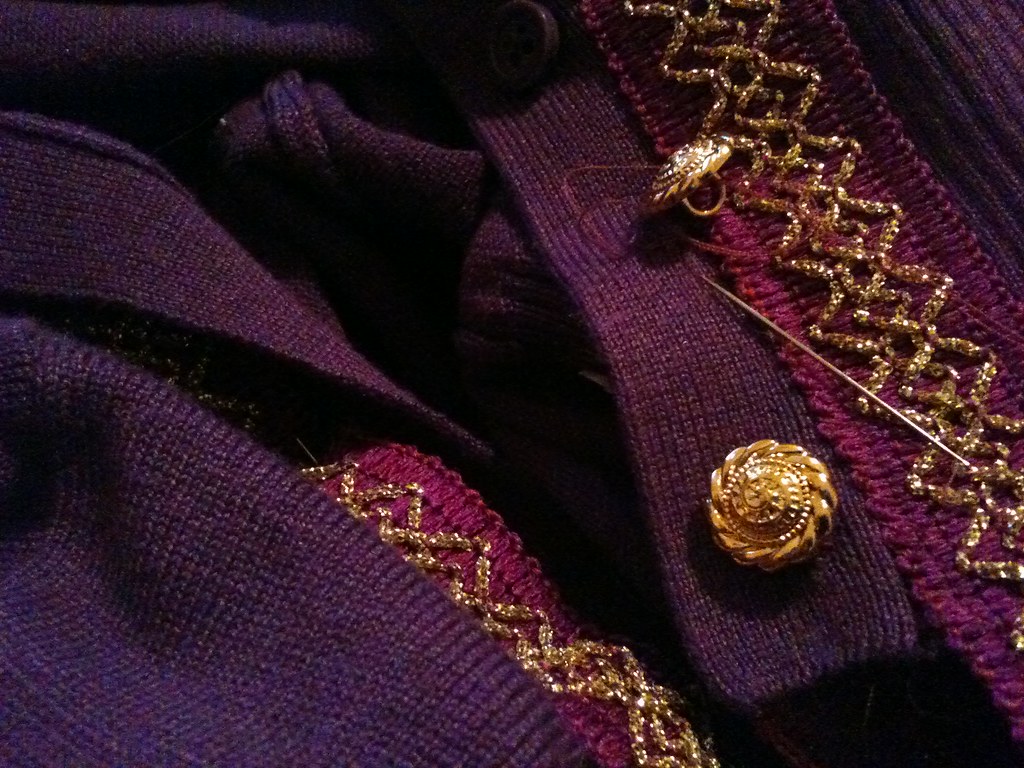
-pins
-scissors
-sewing machine (not essential since you can hand sew everything if you would like although this would take much longer).
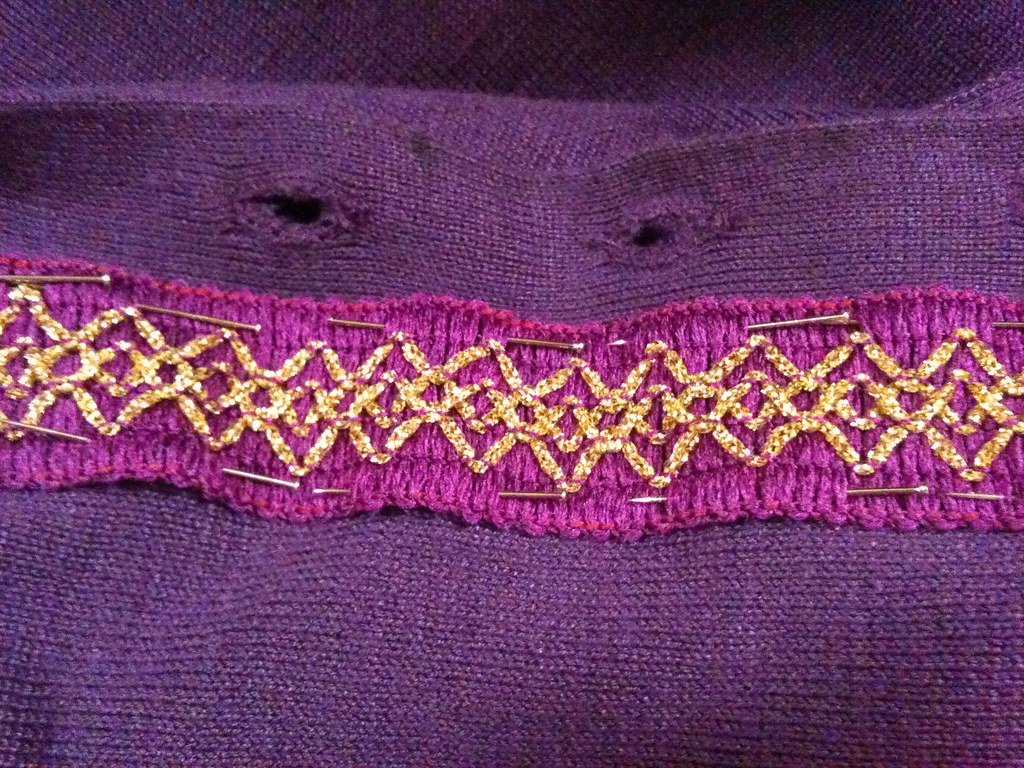
Step 1: place the trim on the cardigan, wherever you would like it to be stitched. For mine, I placed the trim down the front on both sides. Pin the trim into place making sure you use enough pins to keep it in position. Make sure you leave a couple of centimetres extra which hang off the buttom of the cardigan which you will later sew to the underside of the garment.
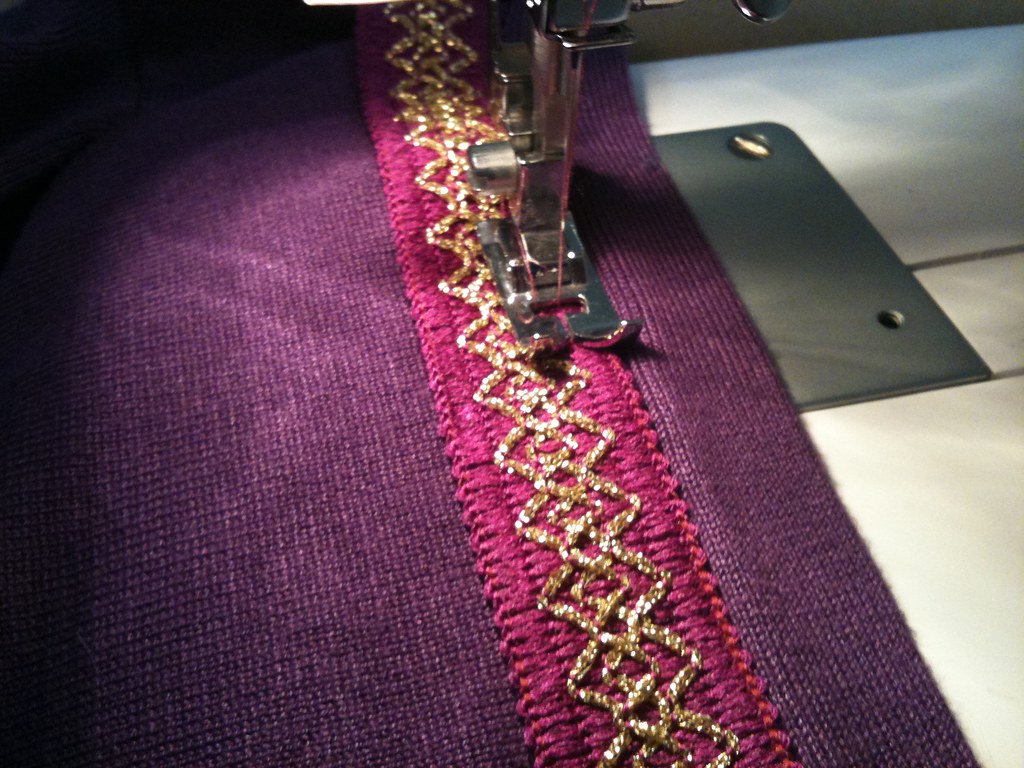
Step 2: using the sewing machine, attach the trim to the cardigan. This is achieved by sewing straight lines down both edges of the trim in all areas where you have pinned the material. Take extra care to ensure that the cardigan remains flat at all times. (This has caused me major problems in the past where the material bunches and I had to spend ages unpicking my sewing).
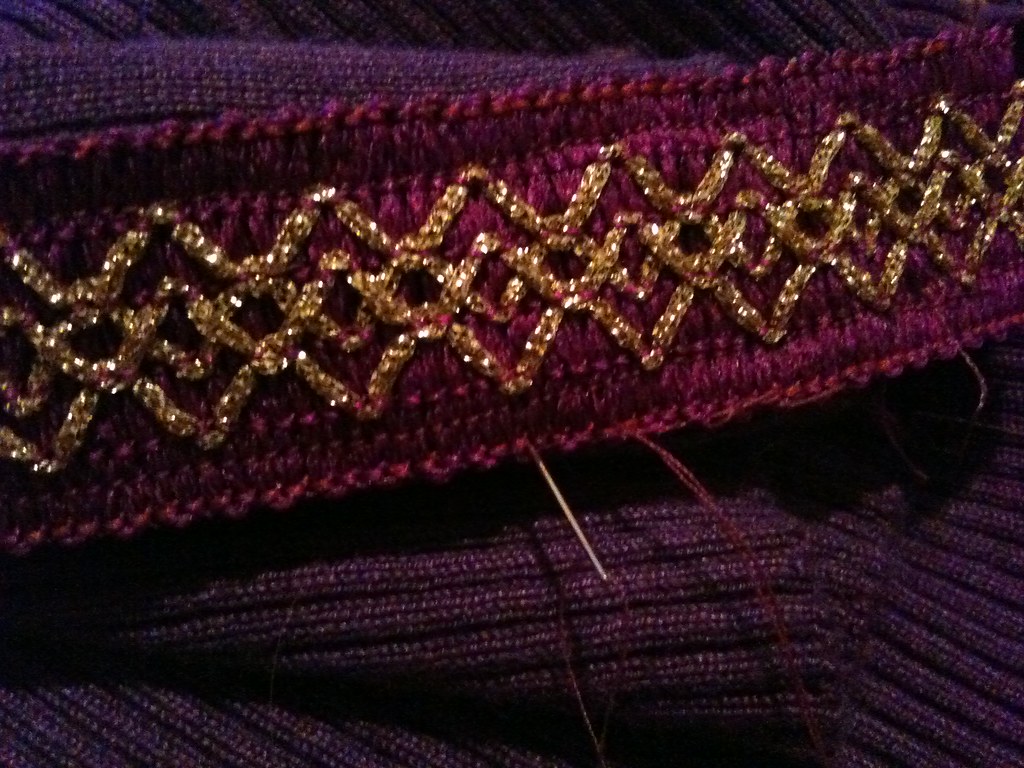
Step 3: If the sewing lines are not particularly close to the edges of the trim, hand stitch the edges in a few places. This can be achieved at largely spaced intervals. It is not essential since you have already machine sewn the trim to the cardigan but it makes the trim sit flatter against the material.
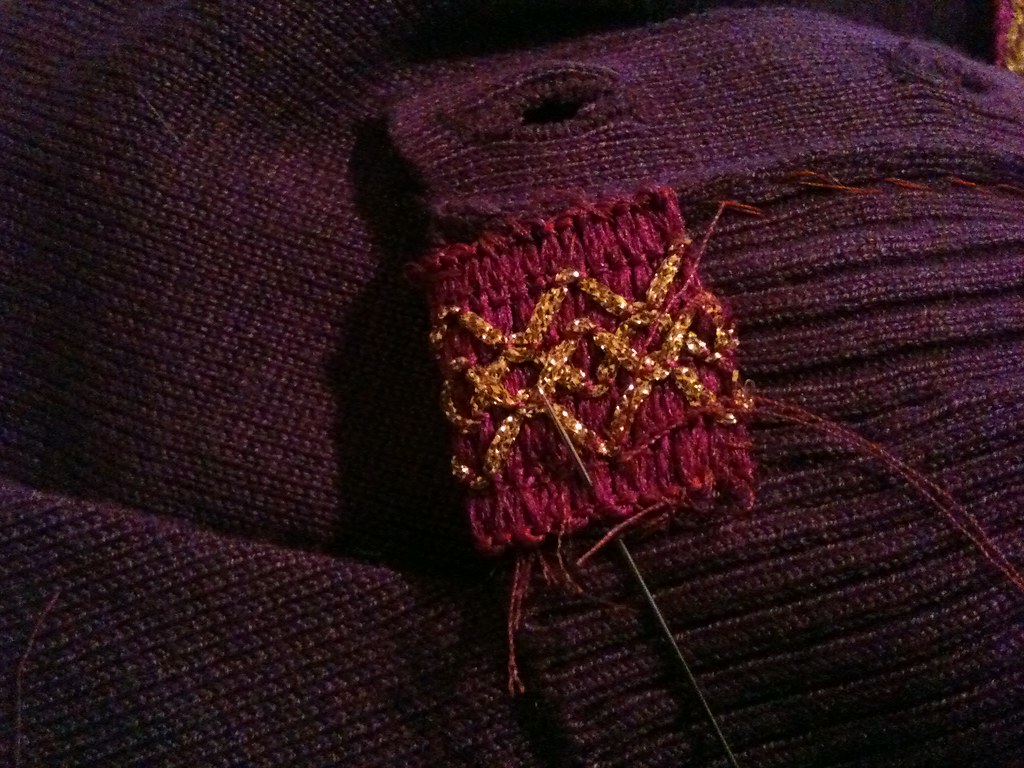
Step 4: fold over and hand sew any excess trim to the underside of the garment.
Step 5: remove the buttons
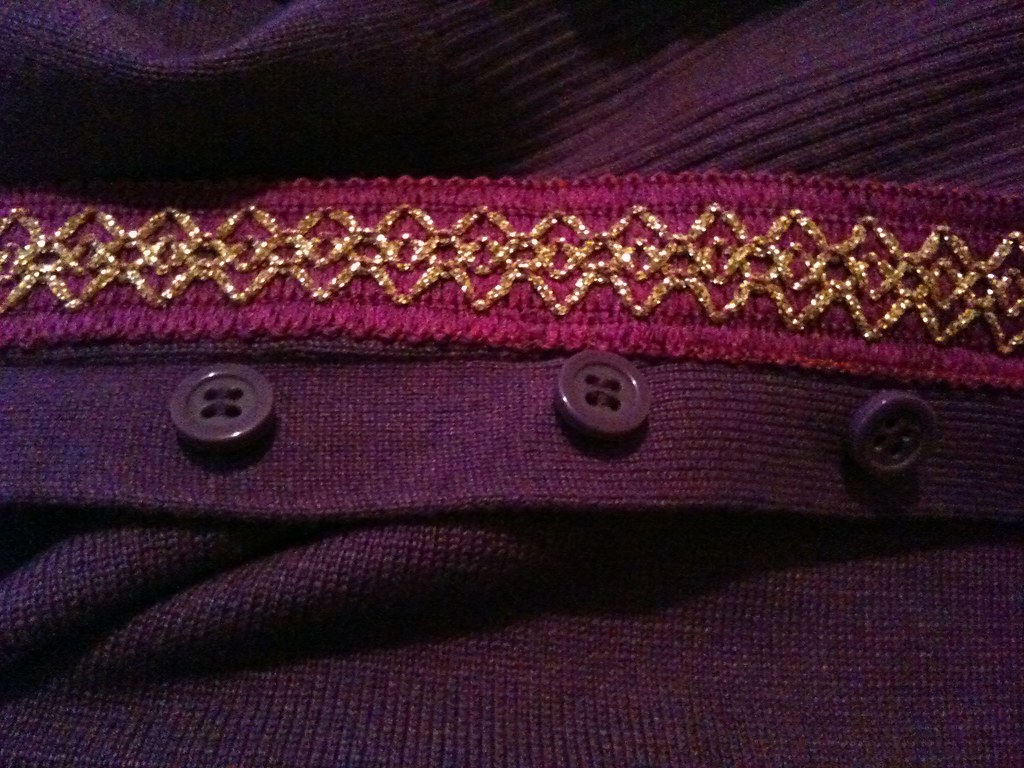
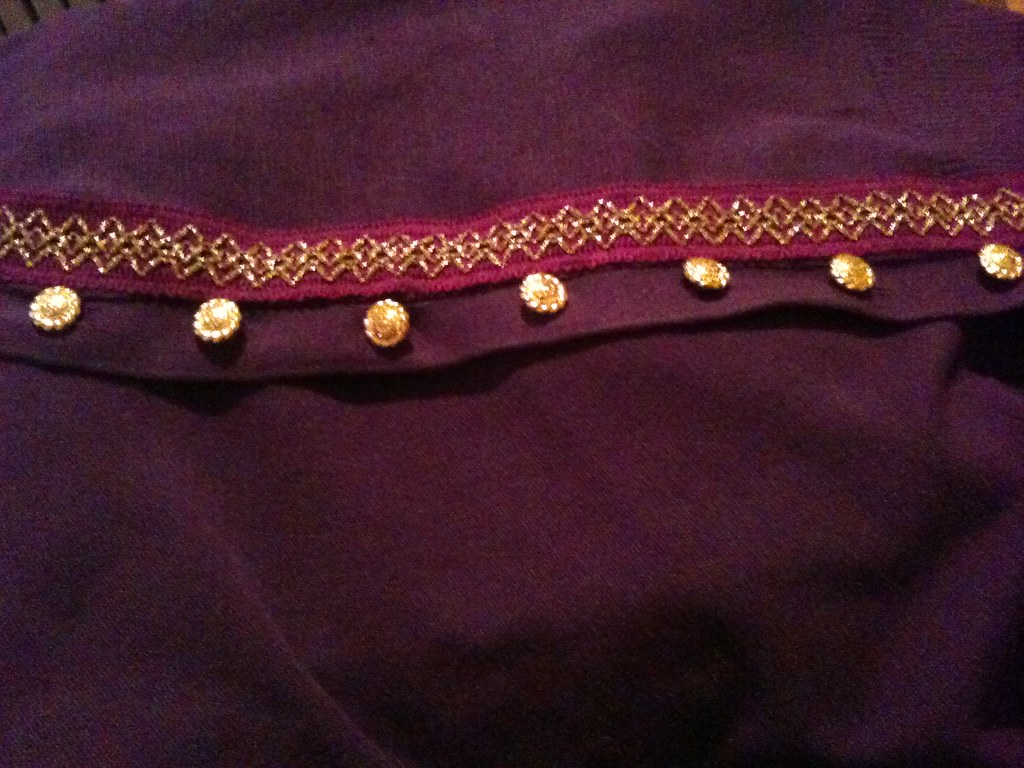
Step 6: sew on new buttons which match the design of the cardigan...
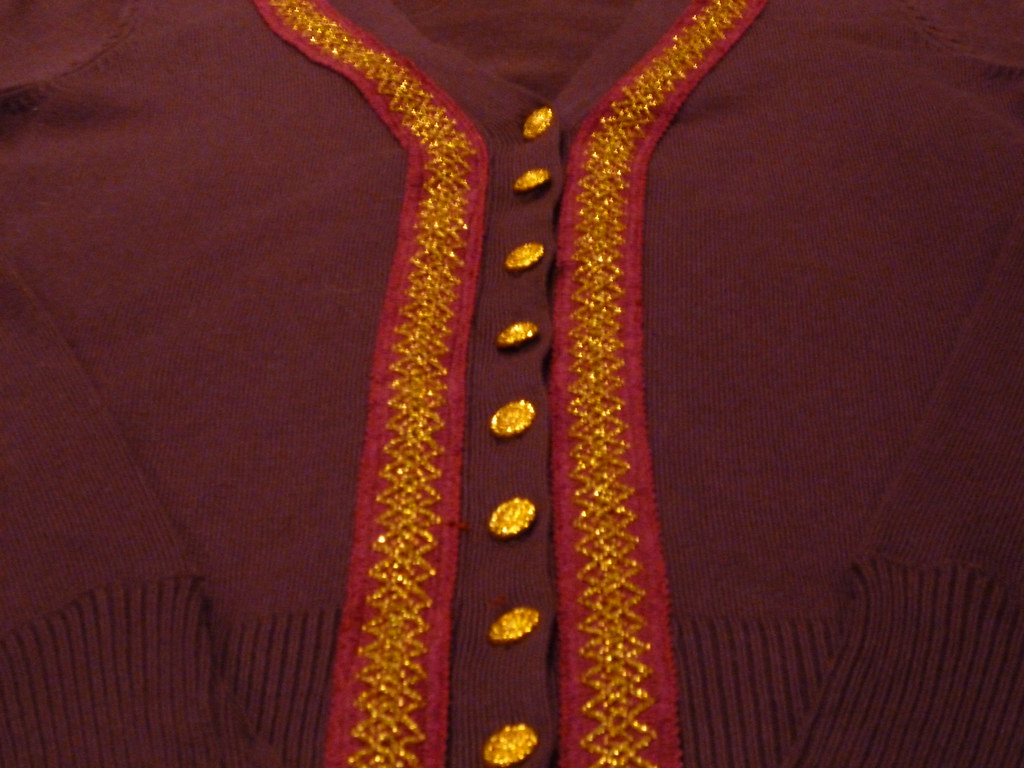
... until all the buttons have been changed
...and your cardigan is complete!
I would love to see pictures if anyone decides to try this or something similar. If you have any questions then ask me in the comments section or email me at tia_cherie@yahoo.com


33 comments:
Really cute; great DIY!
Great look!
I really like the detail, it's really nice
I am so glad that you posted this DIY. I wish I had the skills to do this. But I don't. Because I suck.
http://www.glamkittenslitterbox.com/
Twitter: @GlamKitten88
Gorgeous it makes such a difference.
Wow, I love it - so creative!
Really creative dear! Love it!
xoxo
Stella
Amazing!! I must try it too!
makingfashionnotwar.blogspot.com
Great tutorial -- that's such a pretty trim!
xo Josie
www.winksmilestyle.com
amazing tutorial :)
Oh this is so pretty! My sewing skills are so terrible I'm terrified of taking a needle to anything I own! x
This is a really great way to spruce up a cardigan and the end result is so pretty. Thanks for the tutorial! :)
star-crossed smile
what a lovely DIY project. I am always fascinated by this type of thing but my skills at executing them are so poor! Now following you. I thought I was already but it seemed not x
That is just amazing.
Gorgeous DIY, darling!
xoxox,
CC
You're so clever!!! I love this!
Oh that is a really great and simple little DIY! I'm looking forward to seeing this in future outfit posts too. Definitely inspired!
i wish i had your talent and patience! if you make enough, you could probably sell these on etsy!
aw what a cute project! cardis are great because they're like a blank canvas you can do anything with. good job! thanks for your comment.
The House of Shoes
What a lovely tutorial Tia! I love it! So creative and perfect for upcoming fall (well, for this side of the hemisphere). Thank you for sharing this.
Amber
Ambersmouthwash
Great DIY!!!! You did a great job!
xx
http://dontcallmefashionblogger.blogspot.com/
Beautiful! wonderful details!
I may ask my mom for help with a project like this. I unfortunately can't sew.
YOuve done a great job once again! I love my cardigans, i must have at least 20 lol.
Tis a shame you didnt have an engagement party. Im thinking its a good way for our parents to meet properly, would you believe weve been together almost 9 years and never had the sets of parents together! Im looking forward to it, its high tea style so im making decorations at the moment :)
Look forward to seeing your next cardigan makeover, I think you should make a pink one next ;)
ROse
Amazing DIY!! totally love it. ThAnkx for ur lovely comment.
xx
love this! great diy!
I really like this idea and I'll definitely try it out at some point. I've got two black cardigans that I've always wanted to add something to so I'll use this next time! And thanks for your lovely comment, I love nature and all it's variety. xxx
You are definitely the queen of the cardi. I really, really, really adore this.
http://www.glamkittenslitterbox.com/
Twitter: @GlamKitten88
that's so pretty!!!! i really suck at knitting, i never tried anything like this! so thanks for posting!
jos xx
Wow...this is great!Love it!
What a fab transformation. The trick is to select a pretty trim and be good at sewing.
that looks wonderful!
Nice work, Imogen! This is really lovely. I love a good cardigan - plain & simple or fun & embellished, chances are it'll make my heart skip a beat ;)
Post a Comment